Recipes
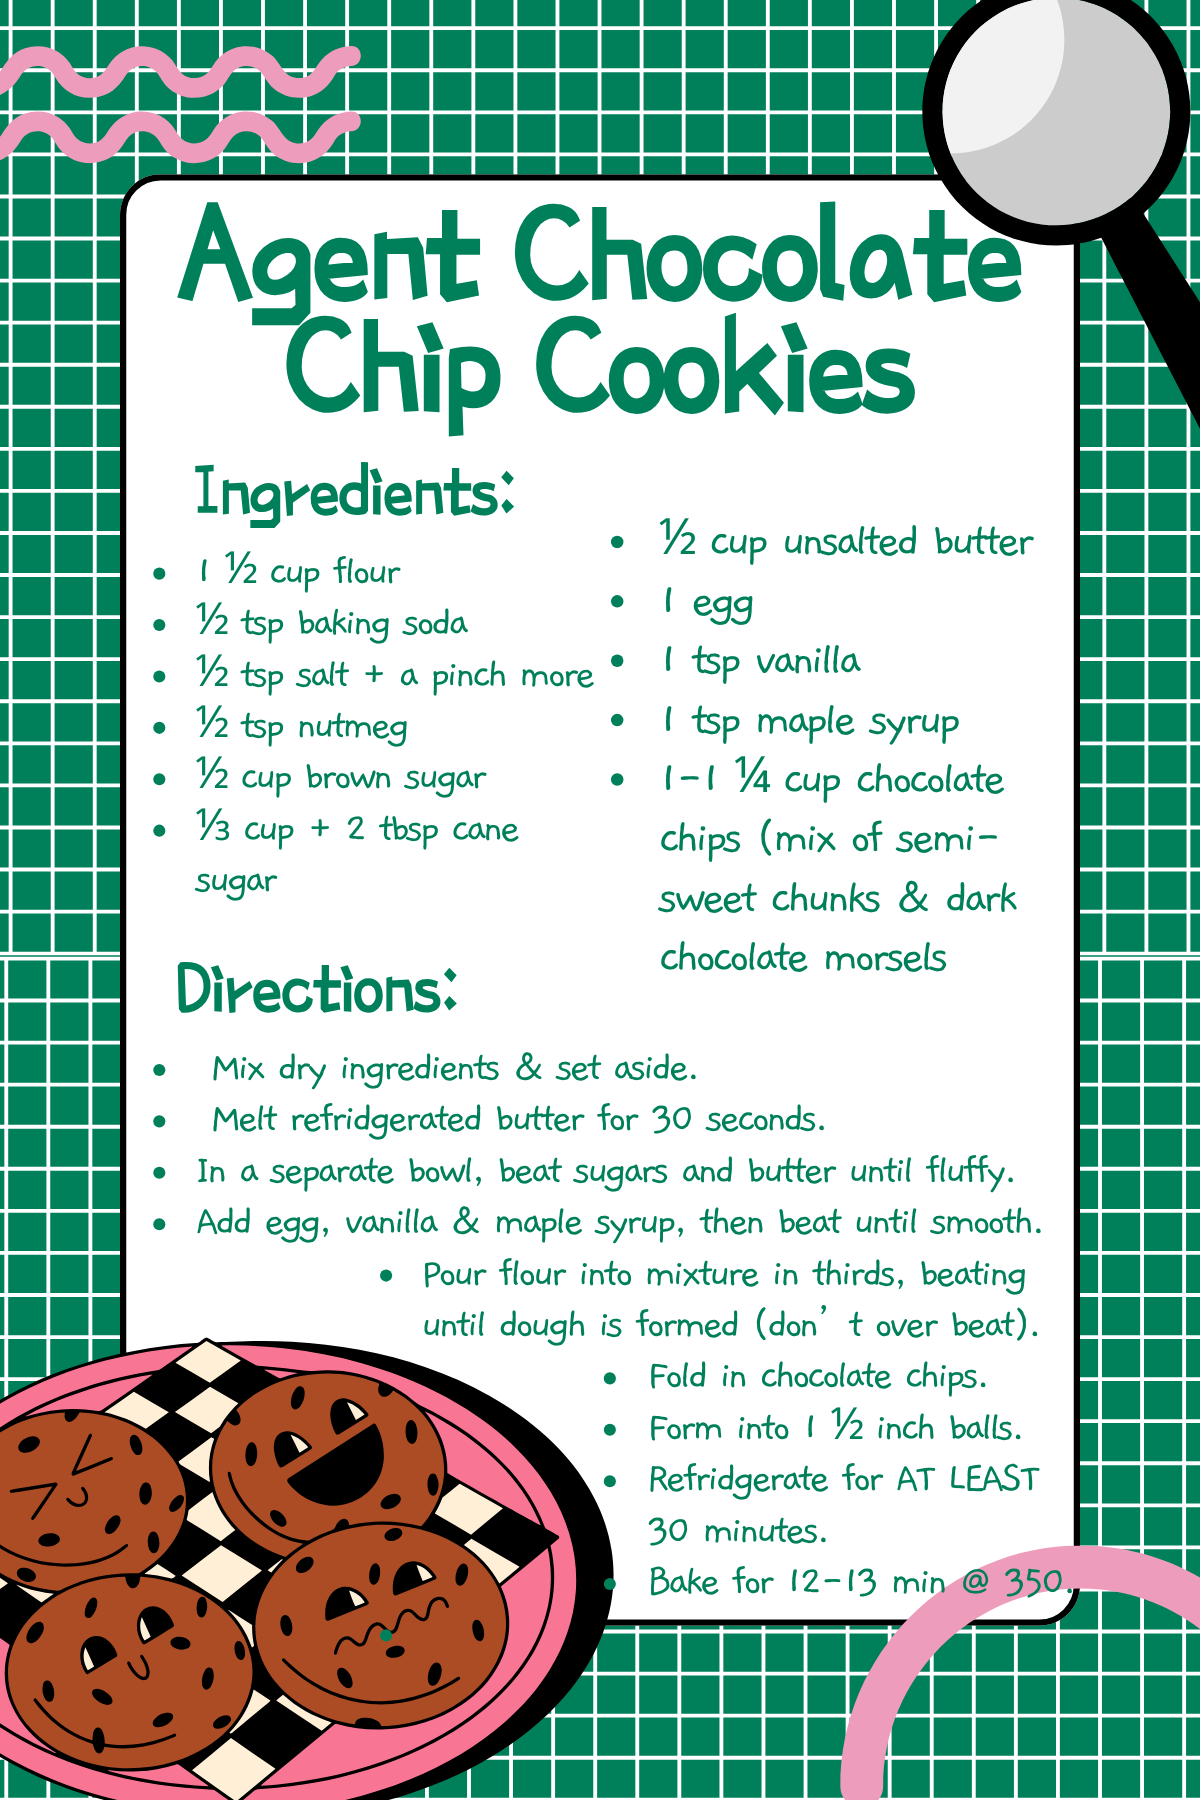
Agent Chocolate Chip Cookies
Preparation
Before every baking excursion, I ask myself three questions: How many batches am I making? What ingredients do I need? Are there any special preferences I should consider?
To start, this recipe yields 10 medium-to-large cookies. If you’re baking for a group, I definitely recommend doubling the recipe. Even if you roll slightly smaller dough balls, you’ll only end up with about 12 cookies.
When it comes to ingredients, I like using both all-purpose flour and whole wheat flour. I’ve found that whole wheat flour helps create a thicker texture while adding a subtle nutty, earthy flavor. Of course, I don’t always have whole wheat flour on hand, and in those cases, all-purpose flour still produces the ooey-gooey, chewy chocolate chip cookies that I am after.
My not-so-secret ingredients are nutmeg and maple syrup. A dash of nutmeg adds a subtle warmth and spice, but if you’re not a fan, use just a pinch or leave it out entirely. The maple syrup, however, is one ingredient I highly recommend keeping. It adds an extra richness that I think makes a noticeable difference. As for the chocolate, choose your favorite chips and chunks—but I’ll explain my reasoning below.
Mixing & Measuring
To start, make sure to whisk together dry ingredients entirely. This seems obvious, but I’ve learned the hard way that pockets of baking soda are not a pleasant surprise.
Now don’t get me wrong, I appreciate the durability and reliability of a Kitchen Aid Mixer. However, I also have a soft spot for my hand mixer. It could be because I like having closer grasp on how the dough develops, or it could be the creature of habit in me. I personally have not tried this recipe with a standing mixer, so if you do so, I’d love to hear how the cookies turn out!
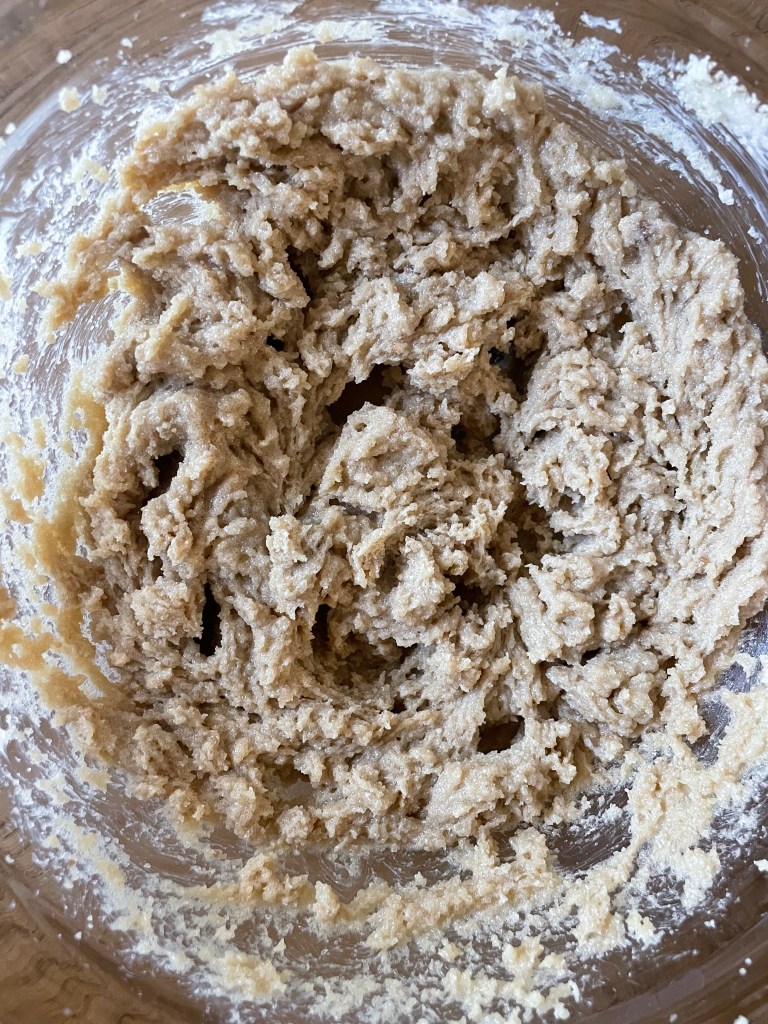
If you’re a forward thinker and remember to take the butter out of the fridge ahead of time, that texture is ideal. However, if you’re like me and often forget, the microwave does a decent job in 30 seconds. Time may be dependent on your appliance so watch carefully, but you’re aiming for very soft butter even with a little melted liquid mixed in. Beat it together with the sugars until all the butter and brown sugar lumps disappear and the mixture becomes light and fluffy, like the photo to the left.
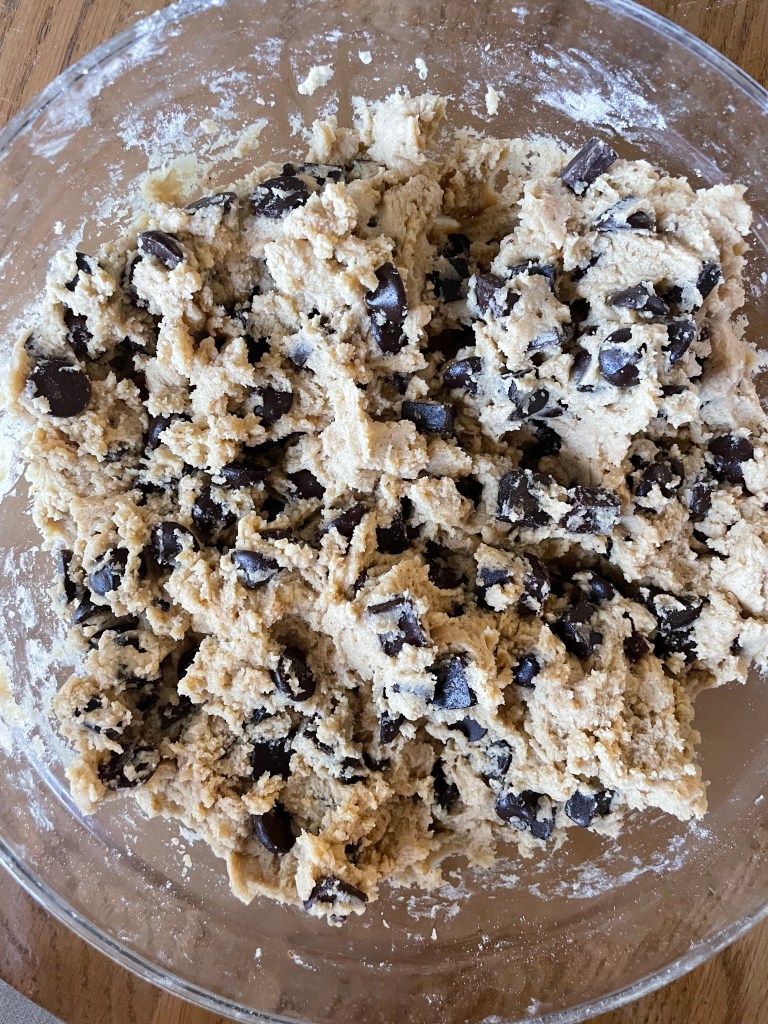
The chocolate deserves a moment. A combination of semi-sweet and dark chocolate provides plenty of richness without becoming overpowering or bitter. Personally, I prefer solidified chips and chunks as opposed to chopping chocolate bars into slivers. Why? Because the chocolate-to-dough ratio in each bite. I absolutely adore chocolate, but I also want the full impact of the dough’s flavor. When cookies are filled with tiny chocolate shards throughout, I have found that the chocolate blends into the dough too much. And the dough deserves a moment, too. That said, I make it rain with chocolate chips. Measure with your heart. Or your watering mouth.
Following Up
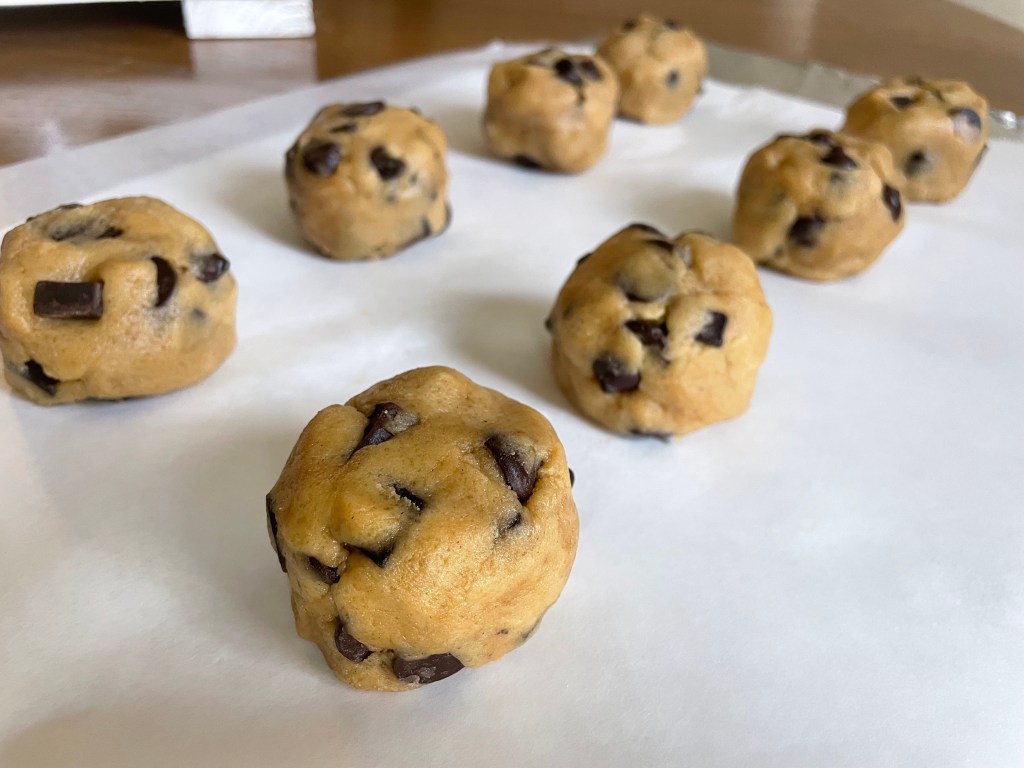
Some use an ice cream scoop, I use good old-fashioned (clean) hands. Roll the dough into tall, round balls about 1½ inches wide. If I’m making a smaller batch with larger cookies, I’ll make eight 2-inch dough balls instead.
Refrigerating the dough for AT LEAST 30 minutes is key. This prevents the cookies from flattening. You can even freeze to speed the chilling process. Honestly, I freeze my portioned dough for days at a time far more often than I let it sit in the fridge for 30 minutes. One thing I’ve noticed is that the longer the dough chills, the thicker the finished cookies become
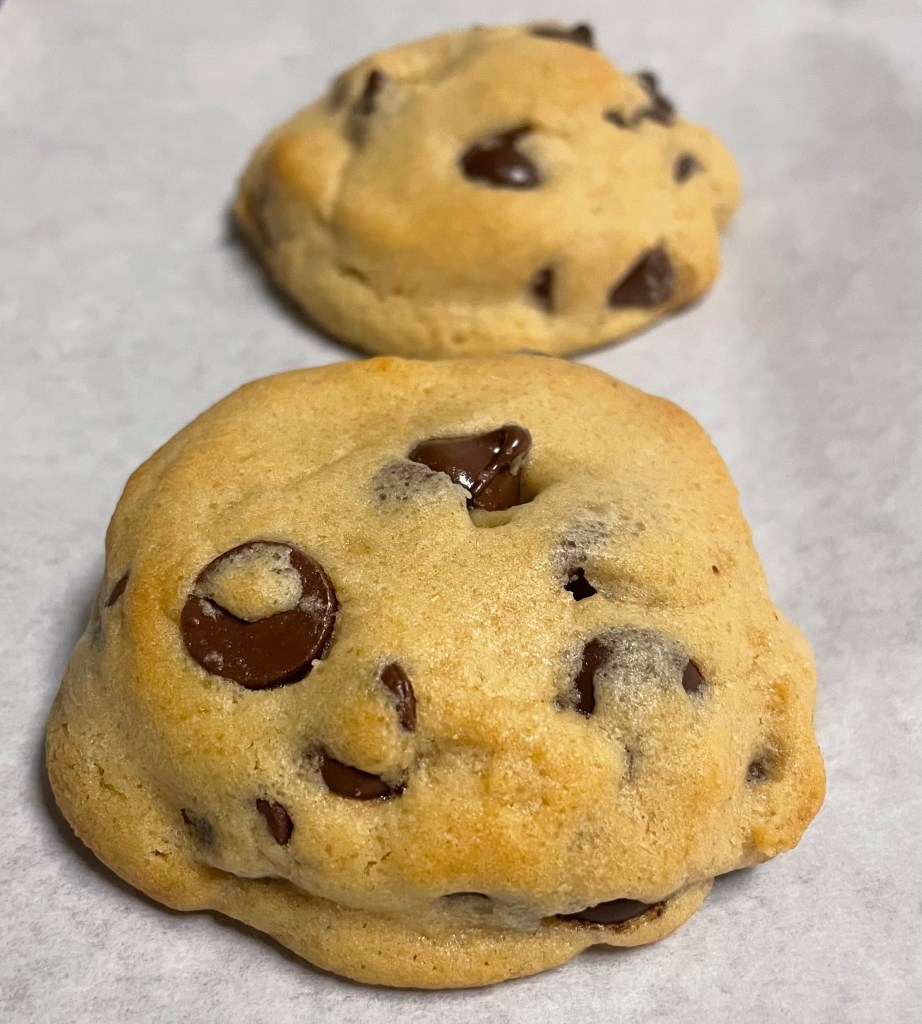
Time in the oven is not only dependent on your oven, but also your preferred cookie texture. When I’m craving an extra gooey cookie, I take them out at 12 minutes. If I’m baking for guests who might prefer a slightly firmer center, I’ll leave them in for 13 minutes. Any longer risks crisping the edges and bottoms. When ready, the cookies should still be mounded with slight golden color along the top. The centers might not look completely set, but that’s okay, they will continue to develop upon cooling. Some use a drying rack, I simply let them hang out on the baking sheet for about 20 minutes. After that, they’re ready to sink into!
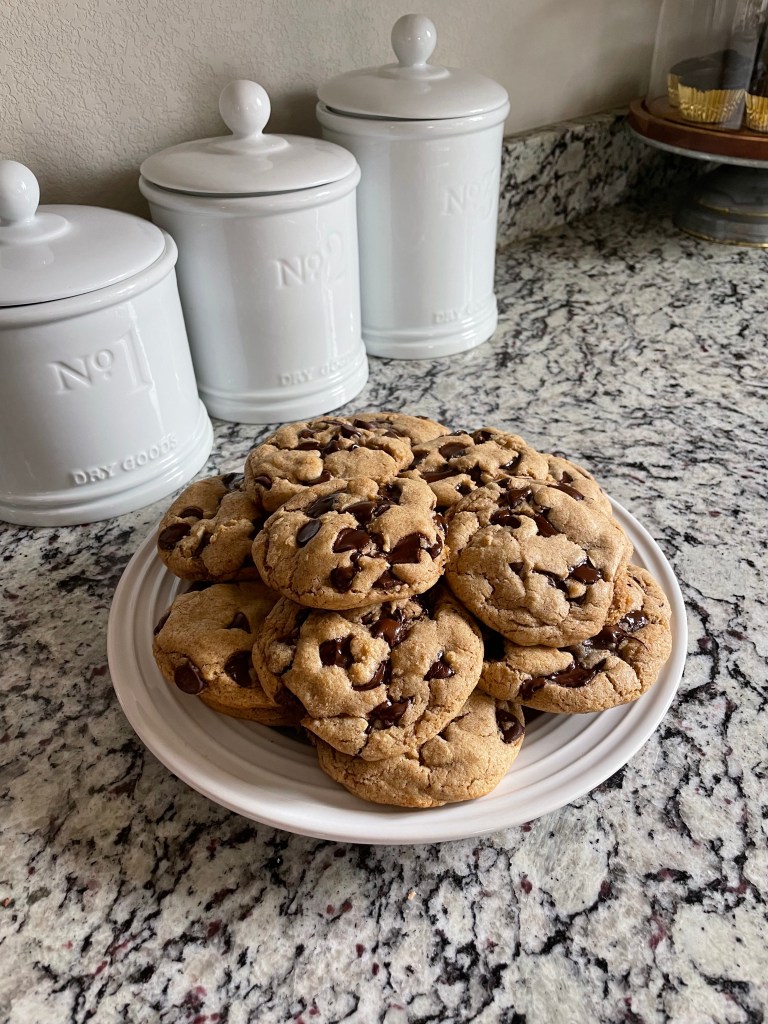
Store baked cookies in a sealed, airtight container for up to 5 days. Frozen cookie dough balls should last about 3 months, but I’ve kept some frozen for up to 6 months and they’ve turned out exactly the same!

